
|
Serving Western Washington since 1998.
|
How to remove Curtis Company "Silentite" windows.
|
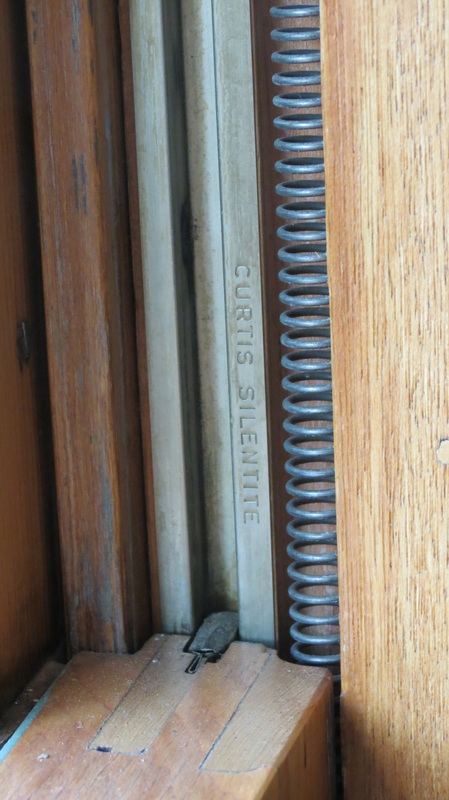
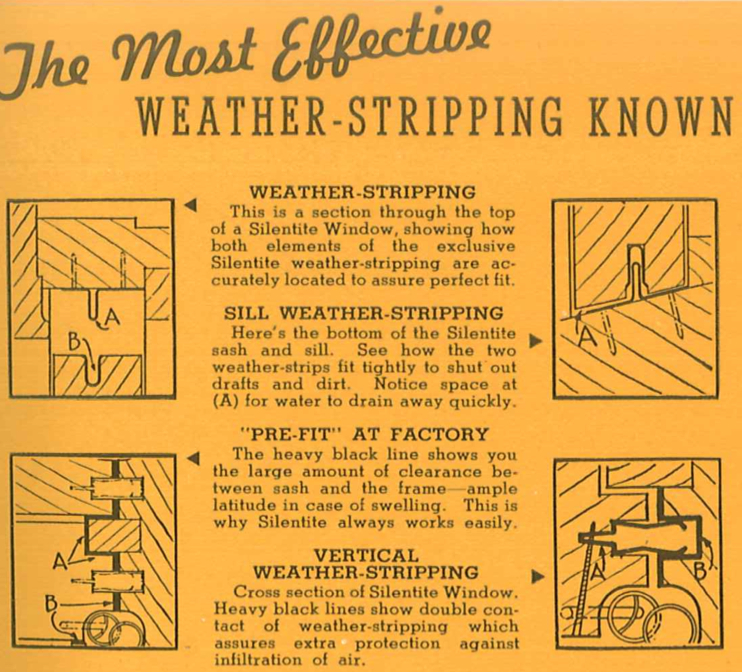
The Curtis Company was founded in Clinton, Iowa. From 1866 till 1966 they sold a variety of wood products. In 1932 they introduced an "insulated" (weather-stripped) window called Silentite. In this video I demonstrate how to remove the sashes from the frame. It is a bit more complicated than in traditional double-hung windows due to the integrated metal weather-stripping. A common problem is that someone has applied one or more coats of paint to the metal-lined channels in the jambs, despite the warnings "do not paint metal" stamped into the metal at 6" intervals. To make the windows operate properly you really ought to remove this paint. The weatherstrip in the side of the sash is attached to the sash with two screws, inserted through the interior face of the sash. You will find the screw heads (possibly under layers of paint) at 3 1/2" from the top and 3 1/2" from the bottom of the sash, approximately 1/4" in from the sash edge. The diagram to the right shows drawings of several details, published in the Silentite sales brochures, available HERE. The lower right hand corner illustration is of particular interest, since it shows the various elements of the weather-stripping and attachments in cross section. |
Click to enlarge.
To watch the video full screen click on the YOUTUBE text below the video.
Click to enlarge.
|