|
Serving Western Washington since 1998.
|
What I Do.
|
In 2001 I took a HUD sponsored class on working safe with lead-based paint. I’ve been following those work practices ever since.
Because the EPA in 2010 would not accept pre-2003 certification for the RRP program, I had to take the Lead Renovator Initial class in 2010, in order to become certified. So I did (see "Lead/What does it all mean in real life?" above). The EPA RRP rules require that I cover the floor, within six feet in all directions (or to the nearest wall) of each window I work on, with taped-down plastic. All items have to be removed from within that area. If they cannot be moved they must also be covered in plastic, also taped down to the floor/plastic. Any vents have to be sealed as well. The problem with the interior “containment” in my experience is that when I take the window out and if there’s any wind blowing, the potential for dust being blown past the 6 feet of plastic on the floor is considerable. In other words, I don’t think the EPA RRP rules require enough. Therefore I put up a vertical containment (ceiling-to-floor, taped down to the floor) in front of every window I work on (see “How To/Typical Restoration Process” slide show). By adding a zipper to the doorway of the containment tent as well as a tacky mat (which cleans off the bottom of ones shoes upon leaving the containment) I further contain the dust that may be generated by my work. If my work includes multiple windows I will exceed the total of 20 square feet of exterior painted surface, which triggers the exterior containment requirements. I then need to put down 10 feet of plastic in all directions of the window I will be working on. This requirement is somewhat impractical for my work. If I work on second or higher stories, debris could fall beyond the 10 feet, so I would have to build a tent to contain any dust. If I put a clear plastic sheet over any yard plants and the sun shines, I would be cooking your plants. Therefore, again, I modify the rules and go beyond the requirements. As soon as I open the window I fasten plastic over the whole exterior of the window opening, taping it to the frame to create a perfect seal. This is less work and more effective. This obviously doesn’t work for contractors who are (for instance) re-painting the side of a house, but it works well for my window restoration protocol. |
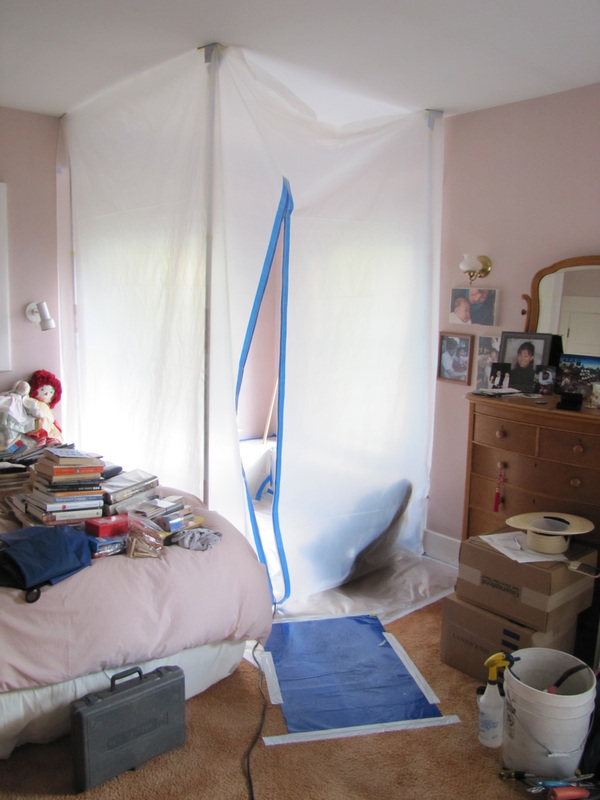 Containment setup. 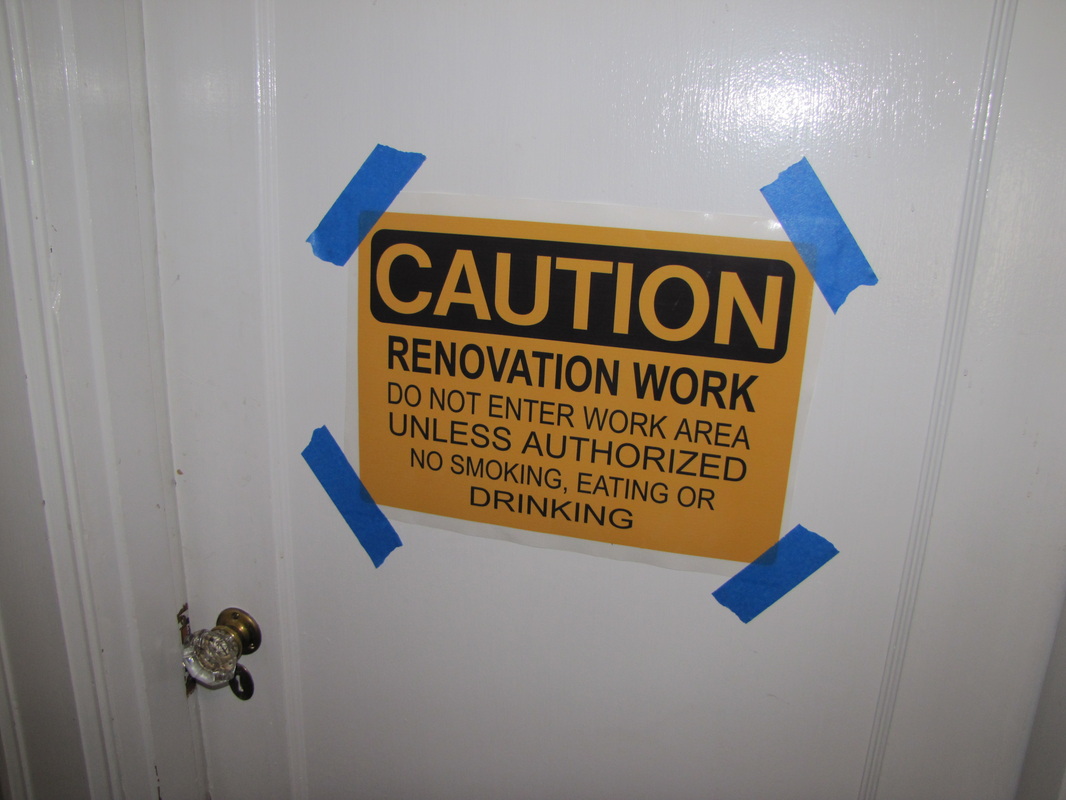 EPA-required signage. 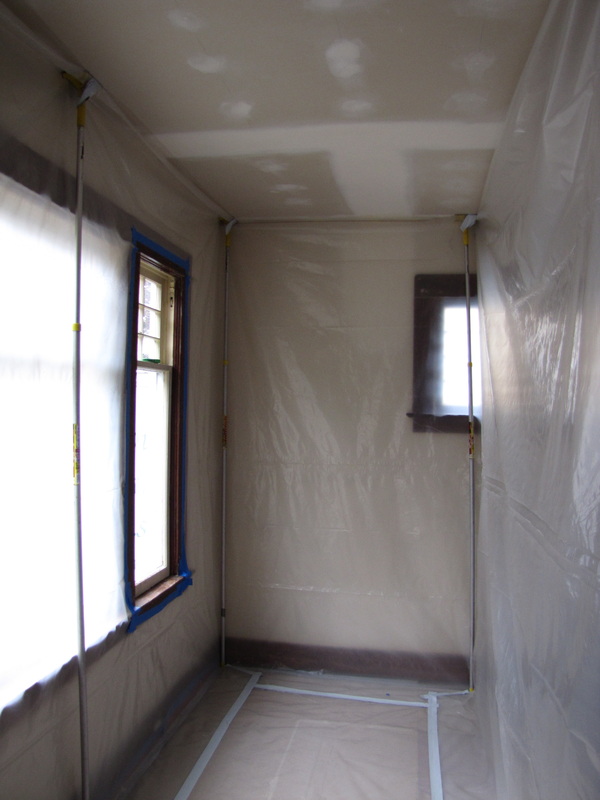 Inside a containment. |